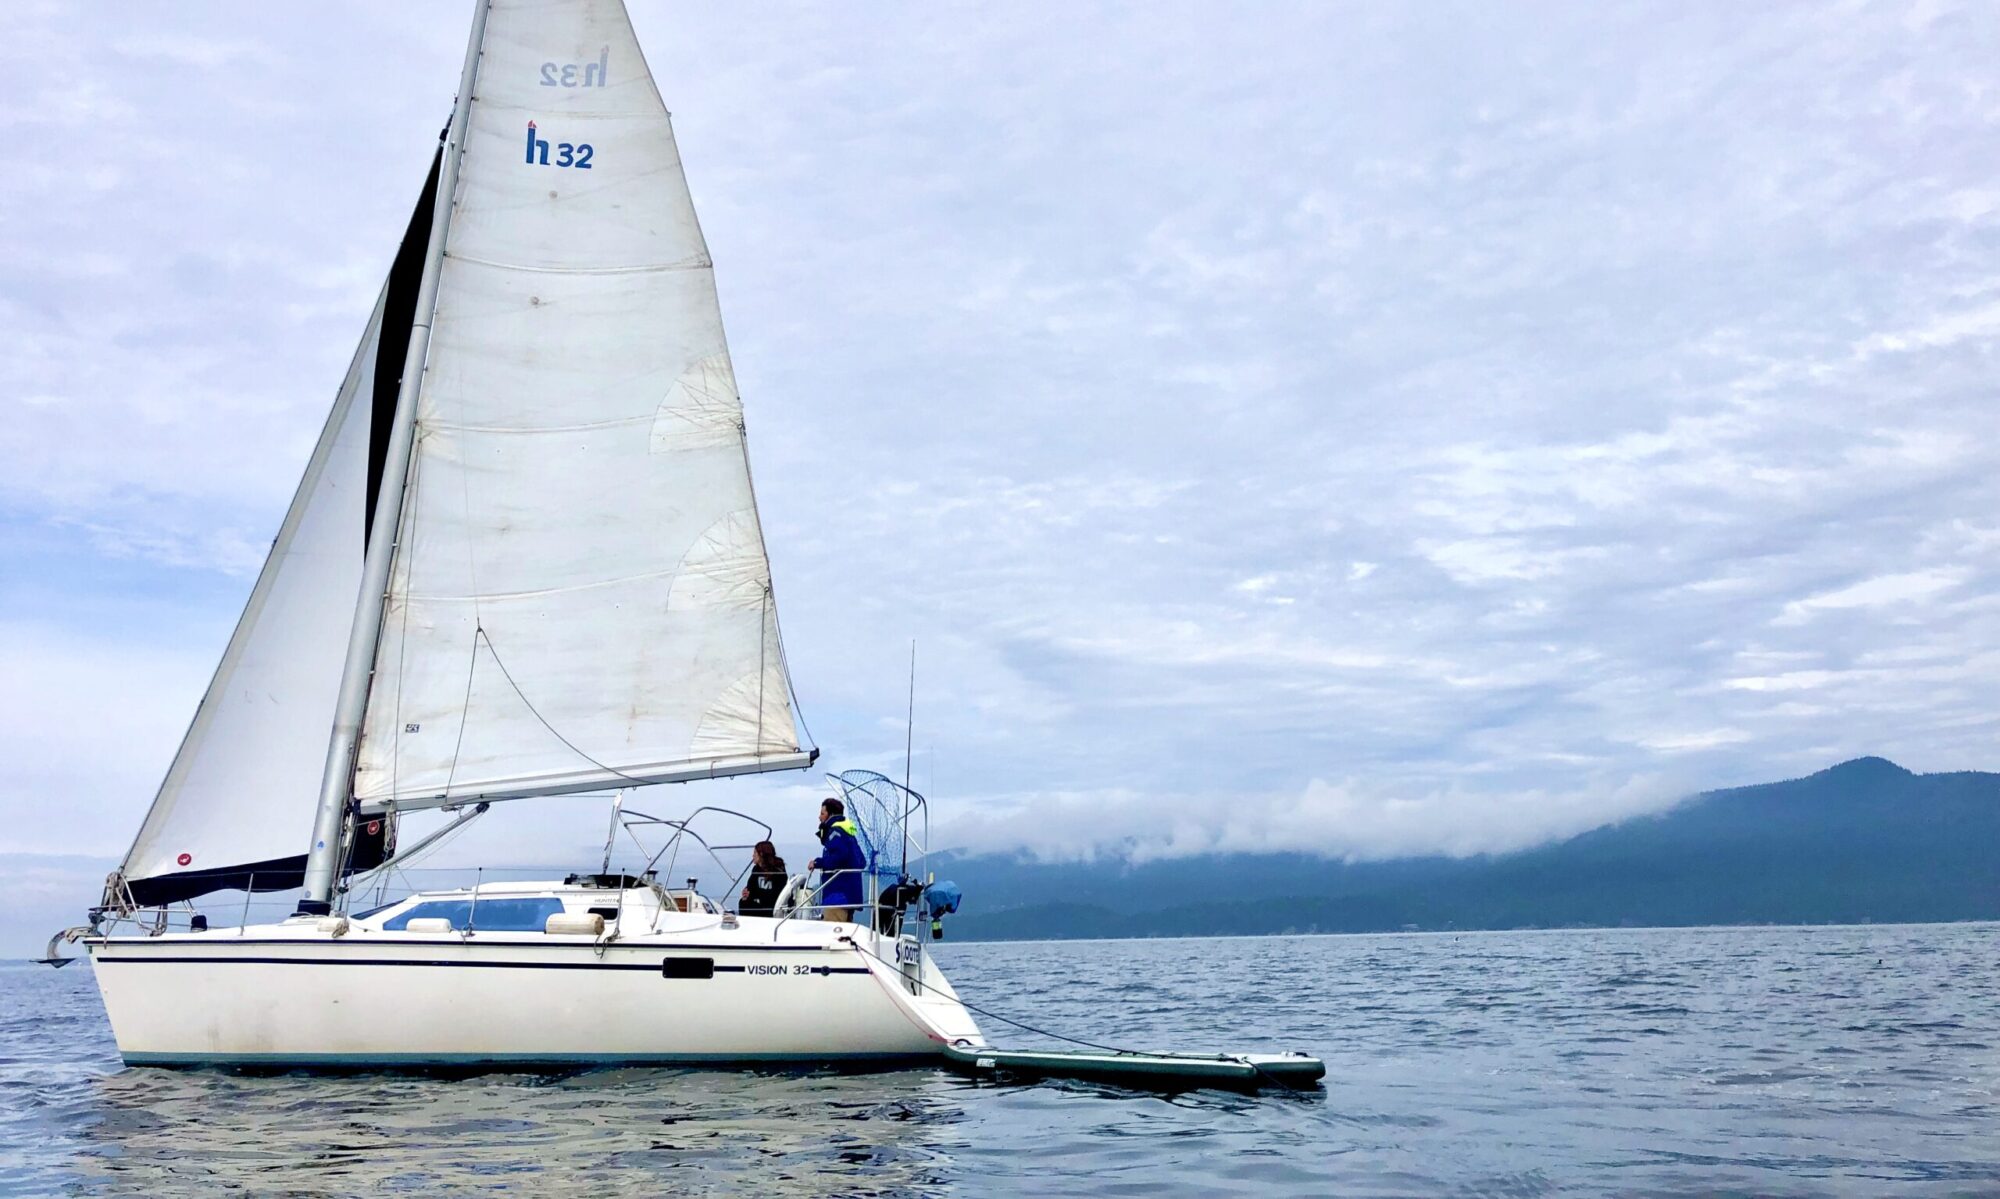
After 3 weeks on land, Scooter was finally dropped back where she belongs.
We couldn’t trust the boatyard about when we’d be back in, but now we’re at anchor and can conclude the saga of life on the hard.

We were so sick of being on land. It’s expensive, the walk to the bathroom is long, it constantly smells of either sea-undergrowth coming off our neighbor’s dinghy or diesel fumes. The worst part is they initially quoted us 5 days and $1900. 19 days and $3400 later, we’re done.
Let’s focus on the best of it.
We sanded our acrylic port side window. The results were fantastic.


This one was such a relief after living a year in the left-half-opaque-world.
Another one of our windows leaked all last summer. I guess the previous owner just kept squirting silicone caulk into the gaps and hoping. After some research, we found out that the best way to ensure a strong leak-free window was… TAPE. So we spent a ton of money on 3M VHB neoprene double-stick 5952 tape and went about taping our window on (there was also some sealant involved but pretty much just tape for structure).
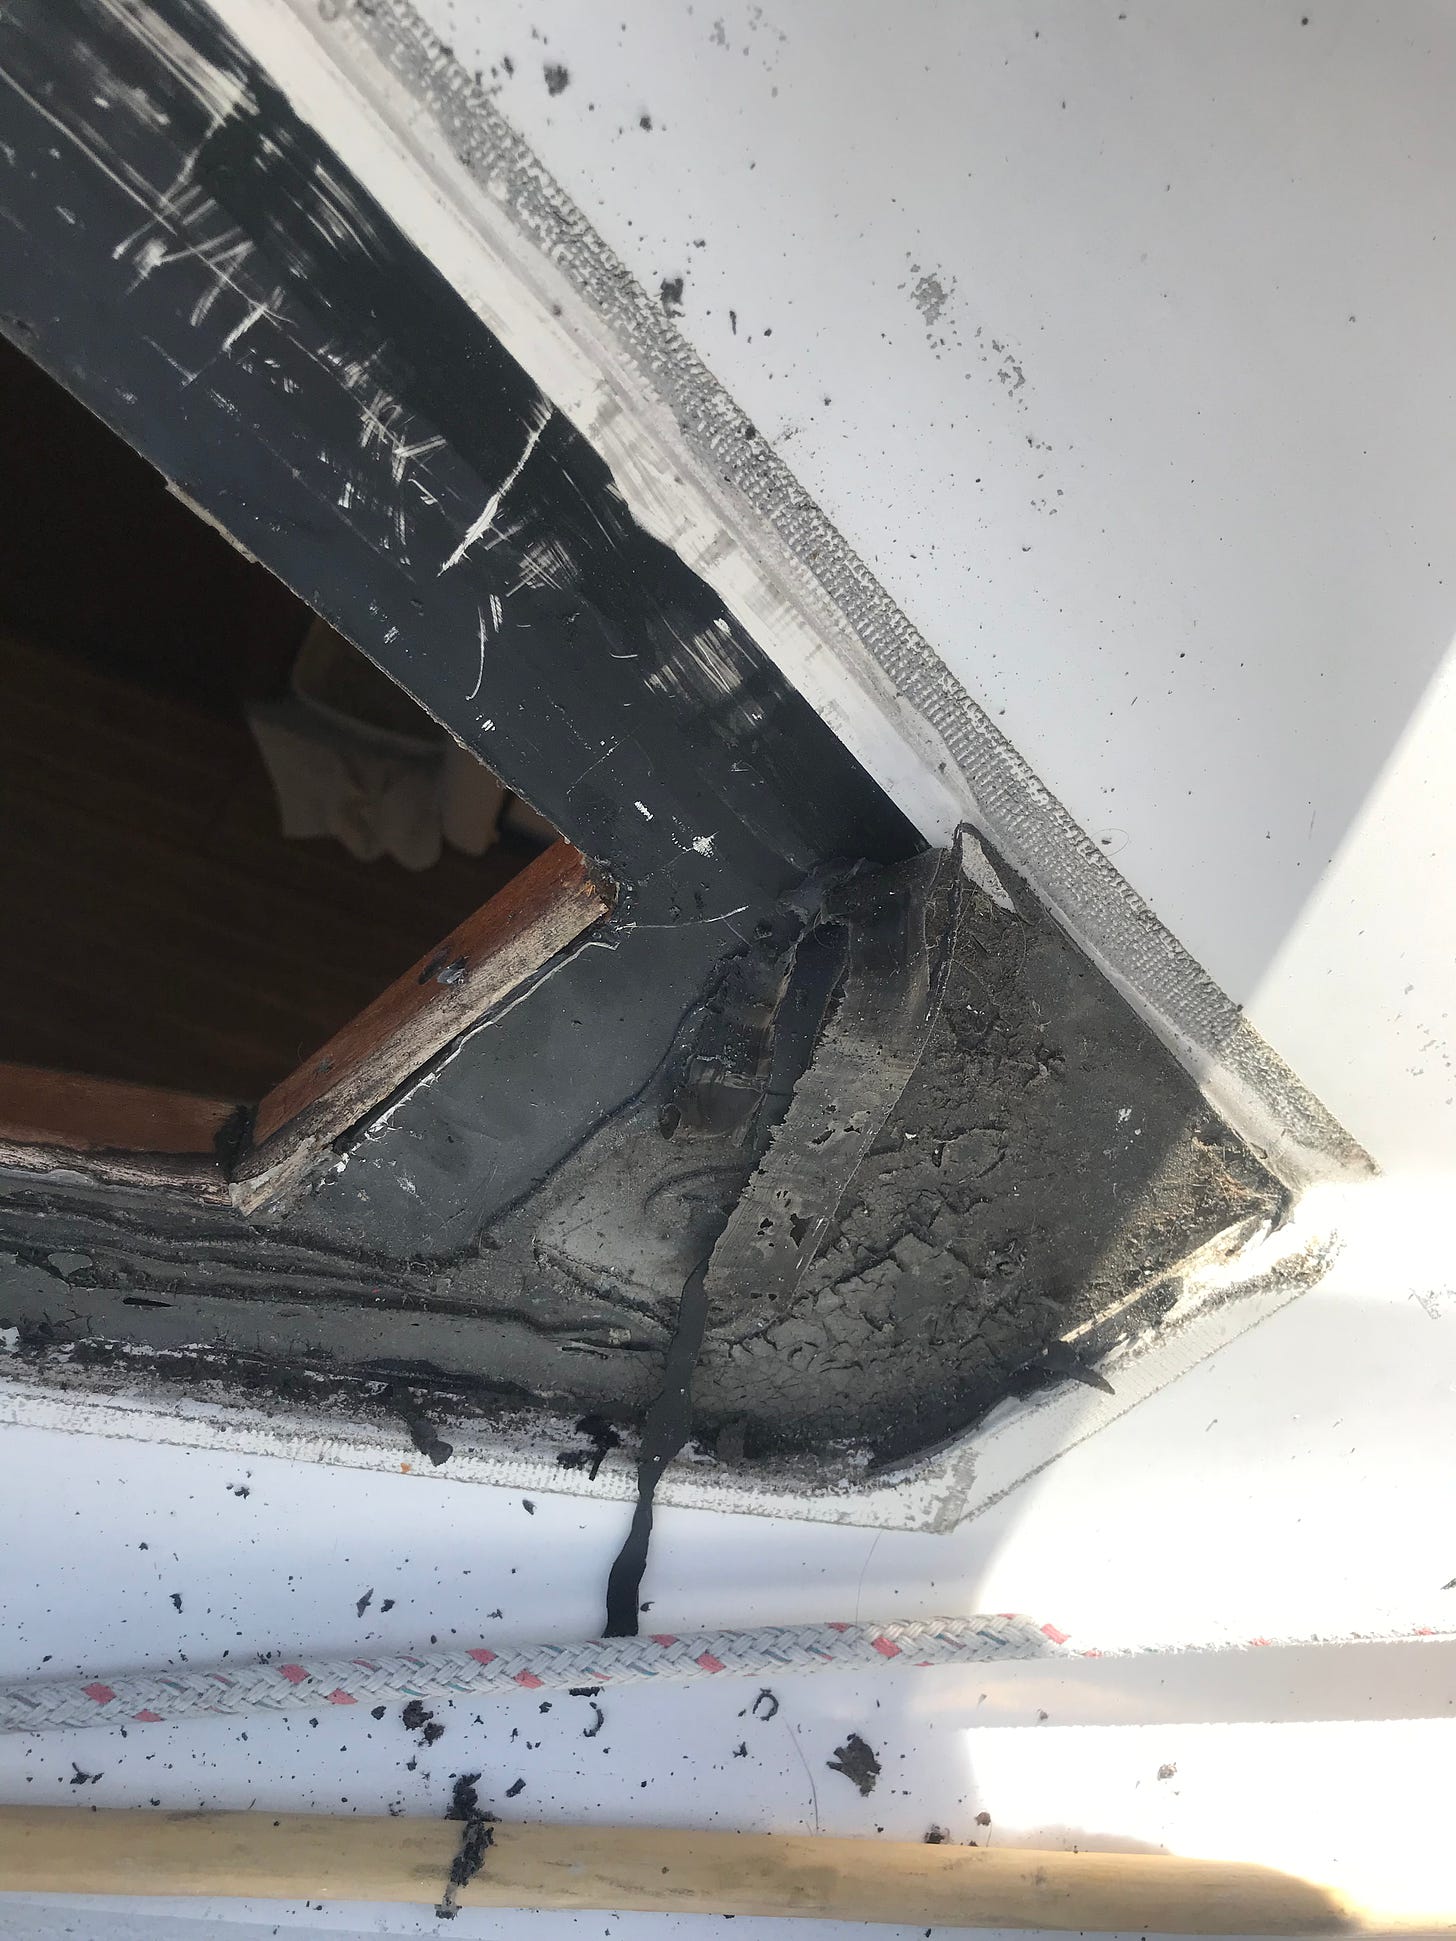
Lots of old crap being used to seal/secure the window needed to be scraped off.
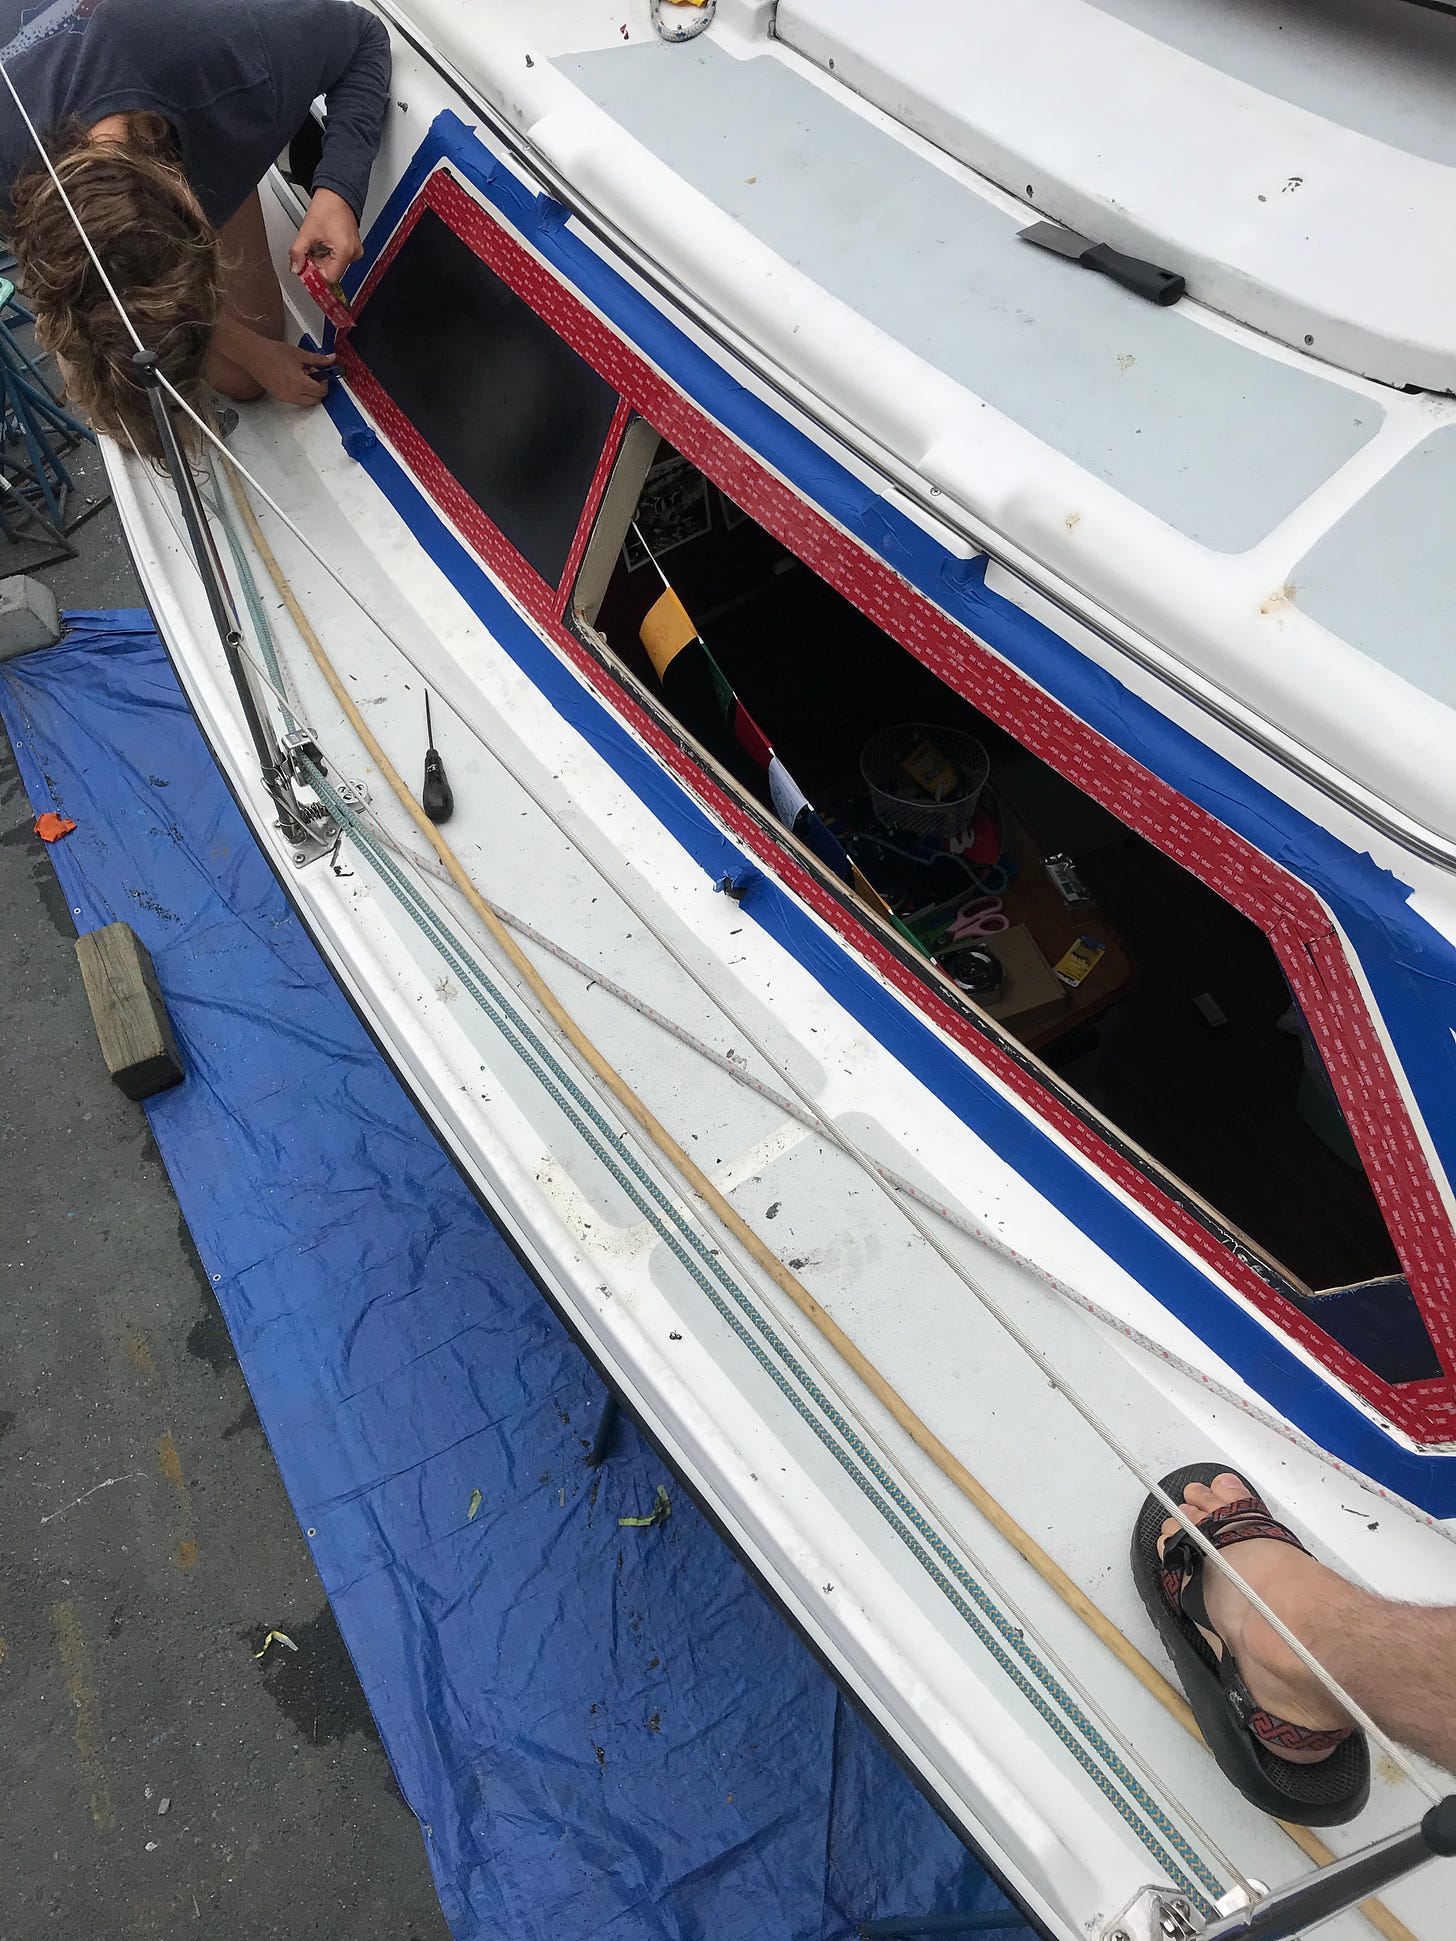
Tape now, ask structural questions later.
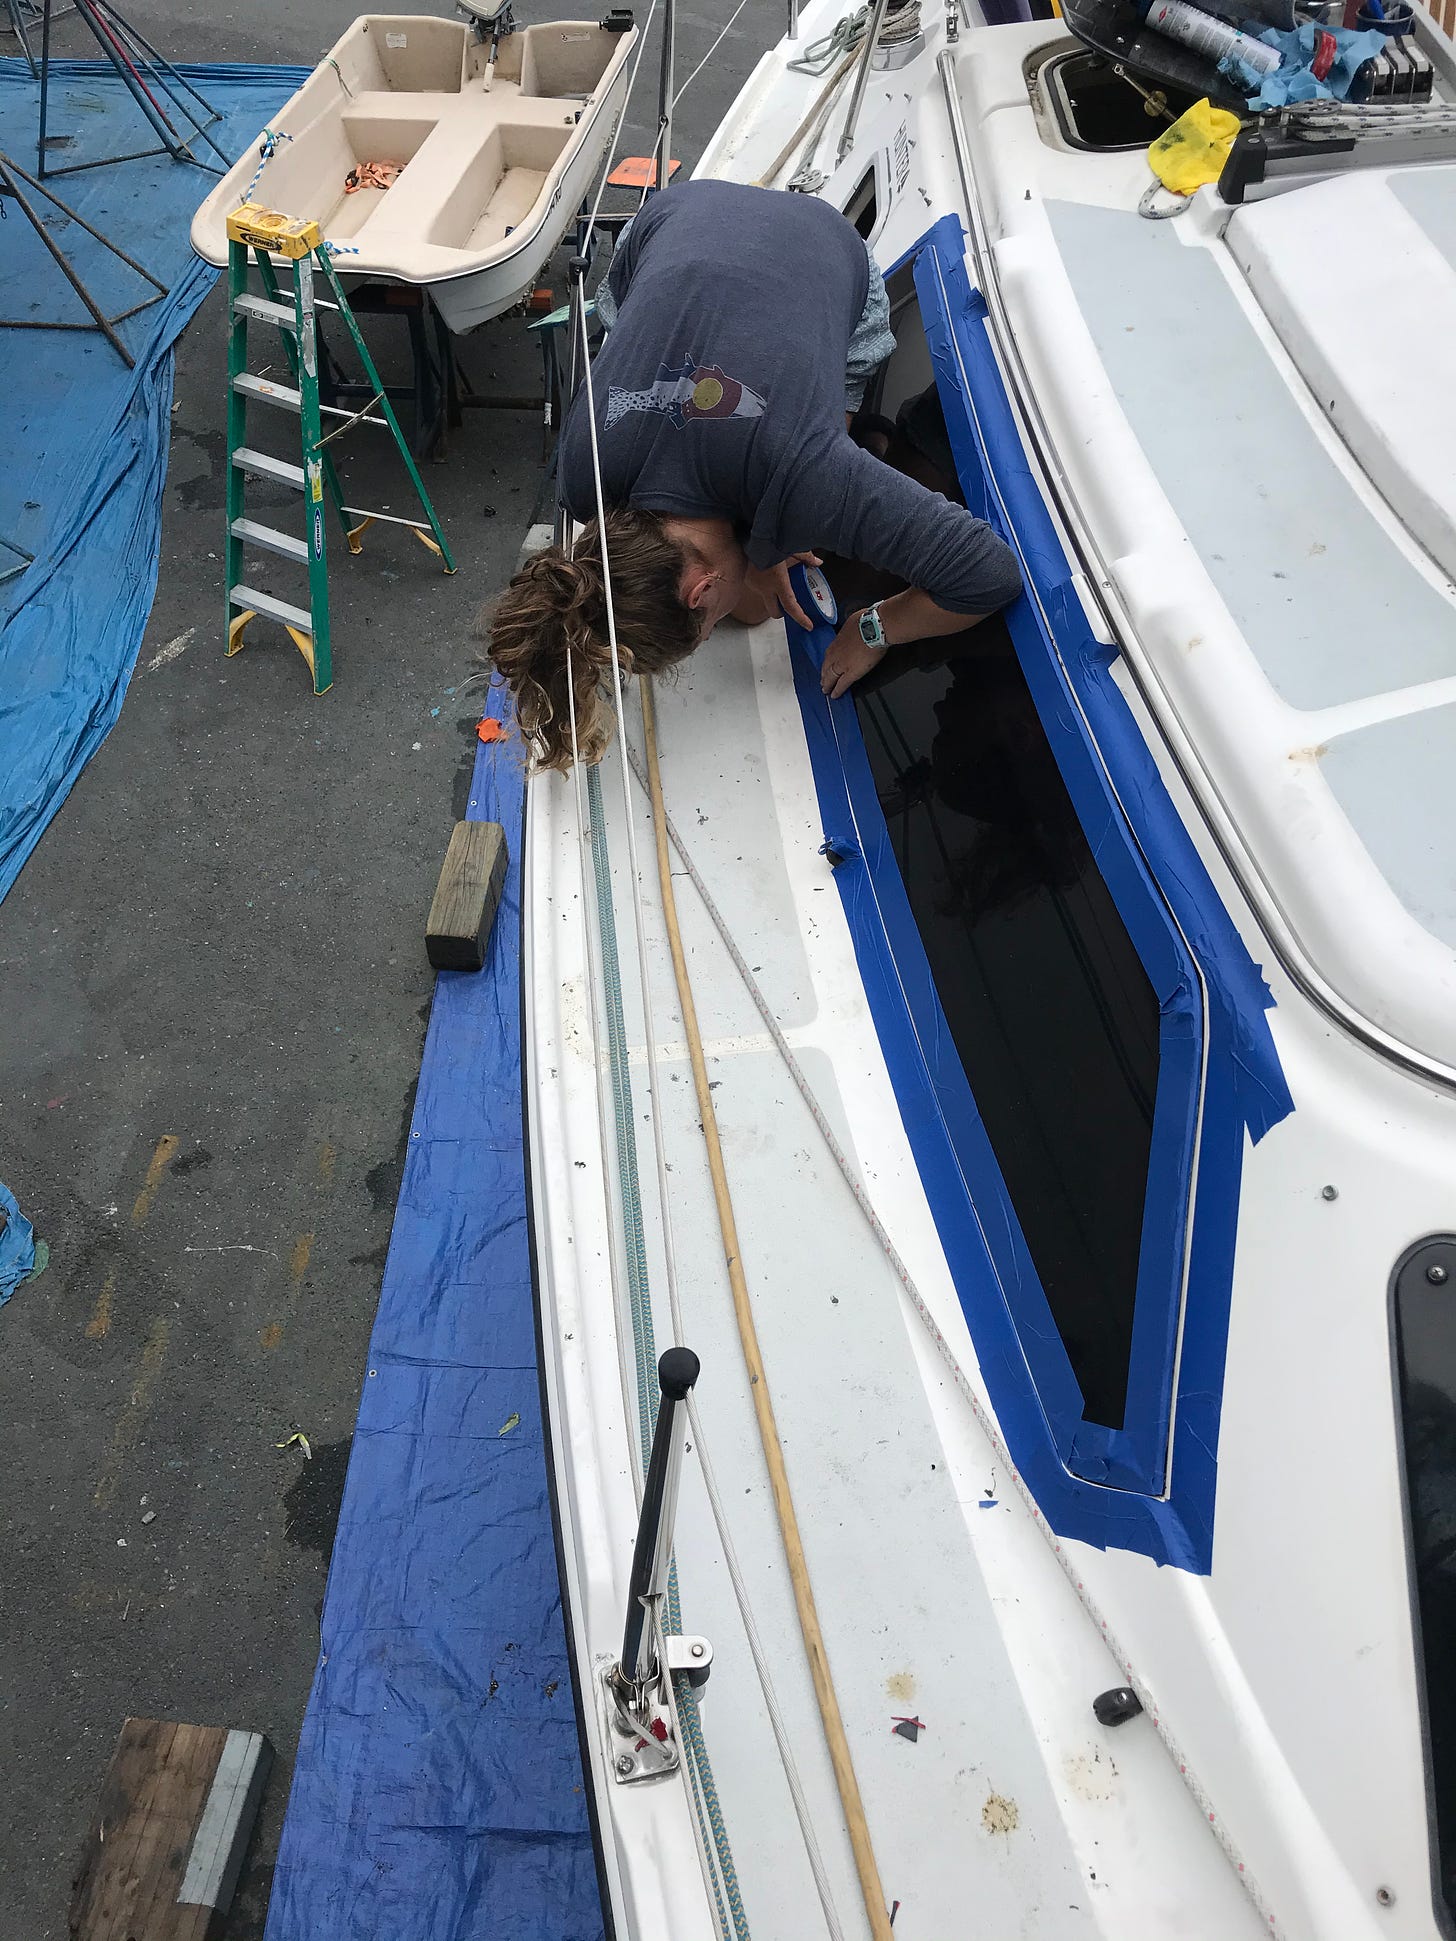
Sealant time! (and in the background our neighbor’s dinghy which (not pictured) is covered in 3 inches of mussels and barnacles baking in the hot summer sun).
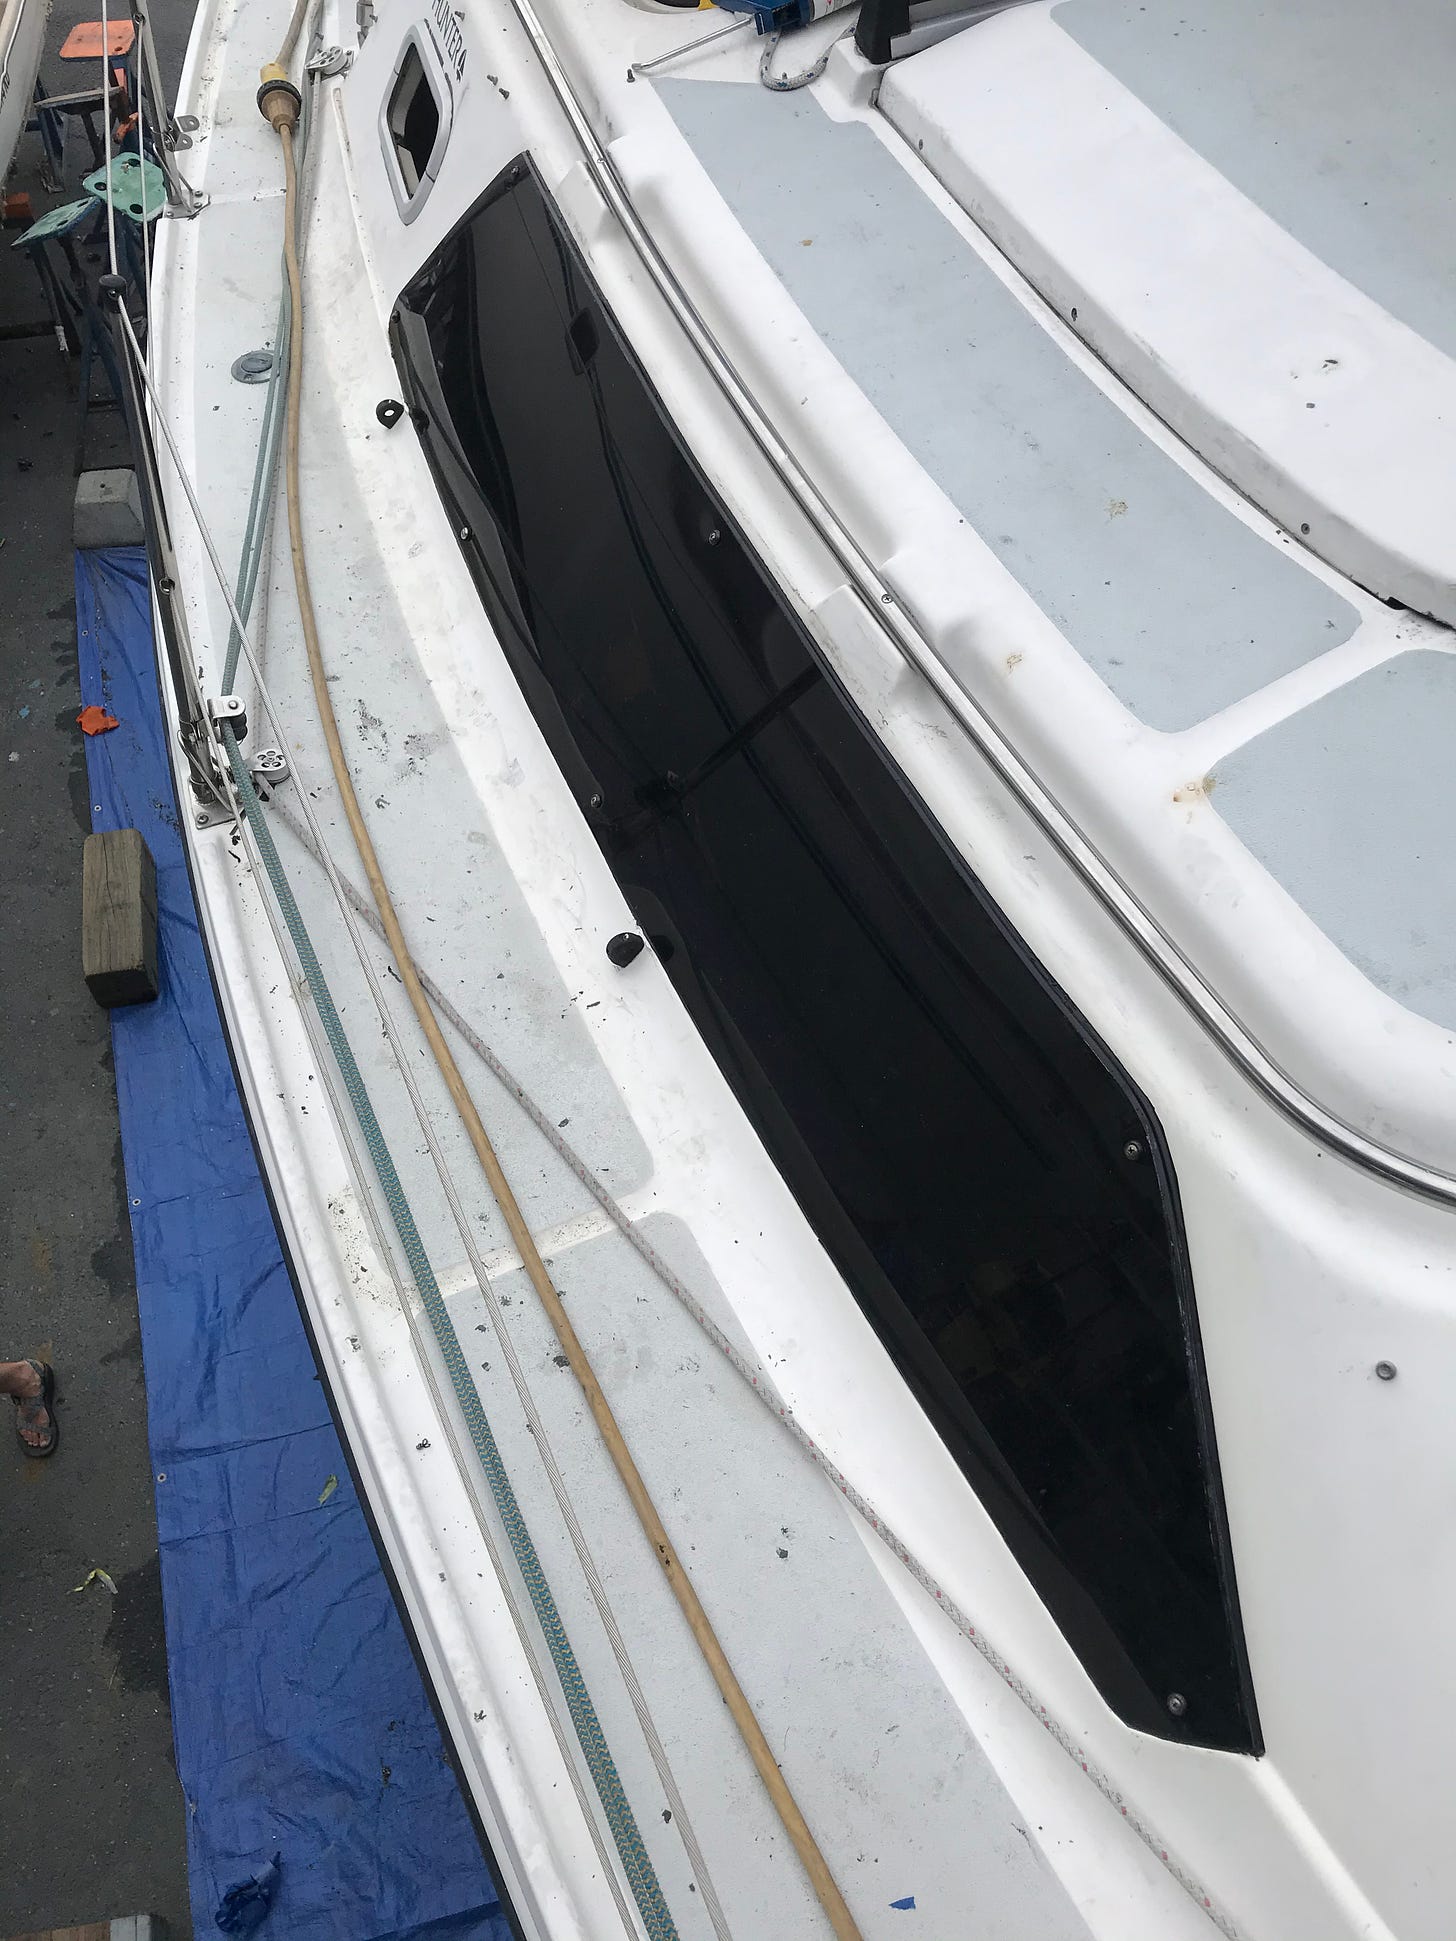
Done! It actually felt really secure and although we haven’t experienced any 30-foot waves crashing over her, the window seems like she’ll hold water.
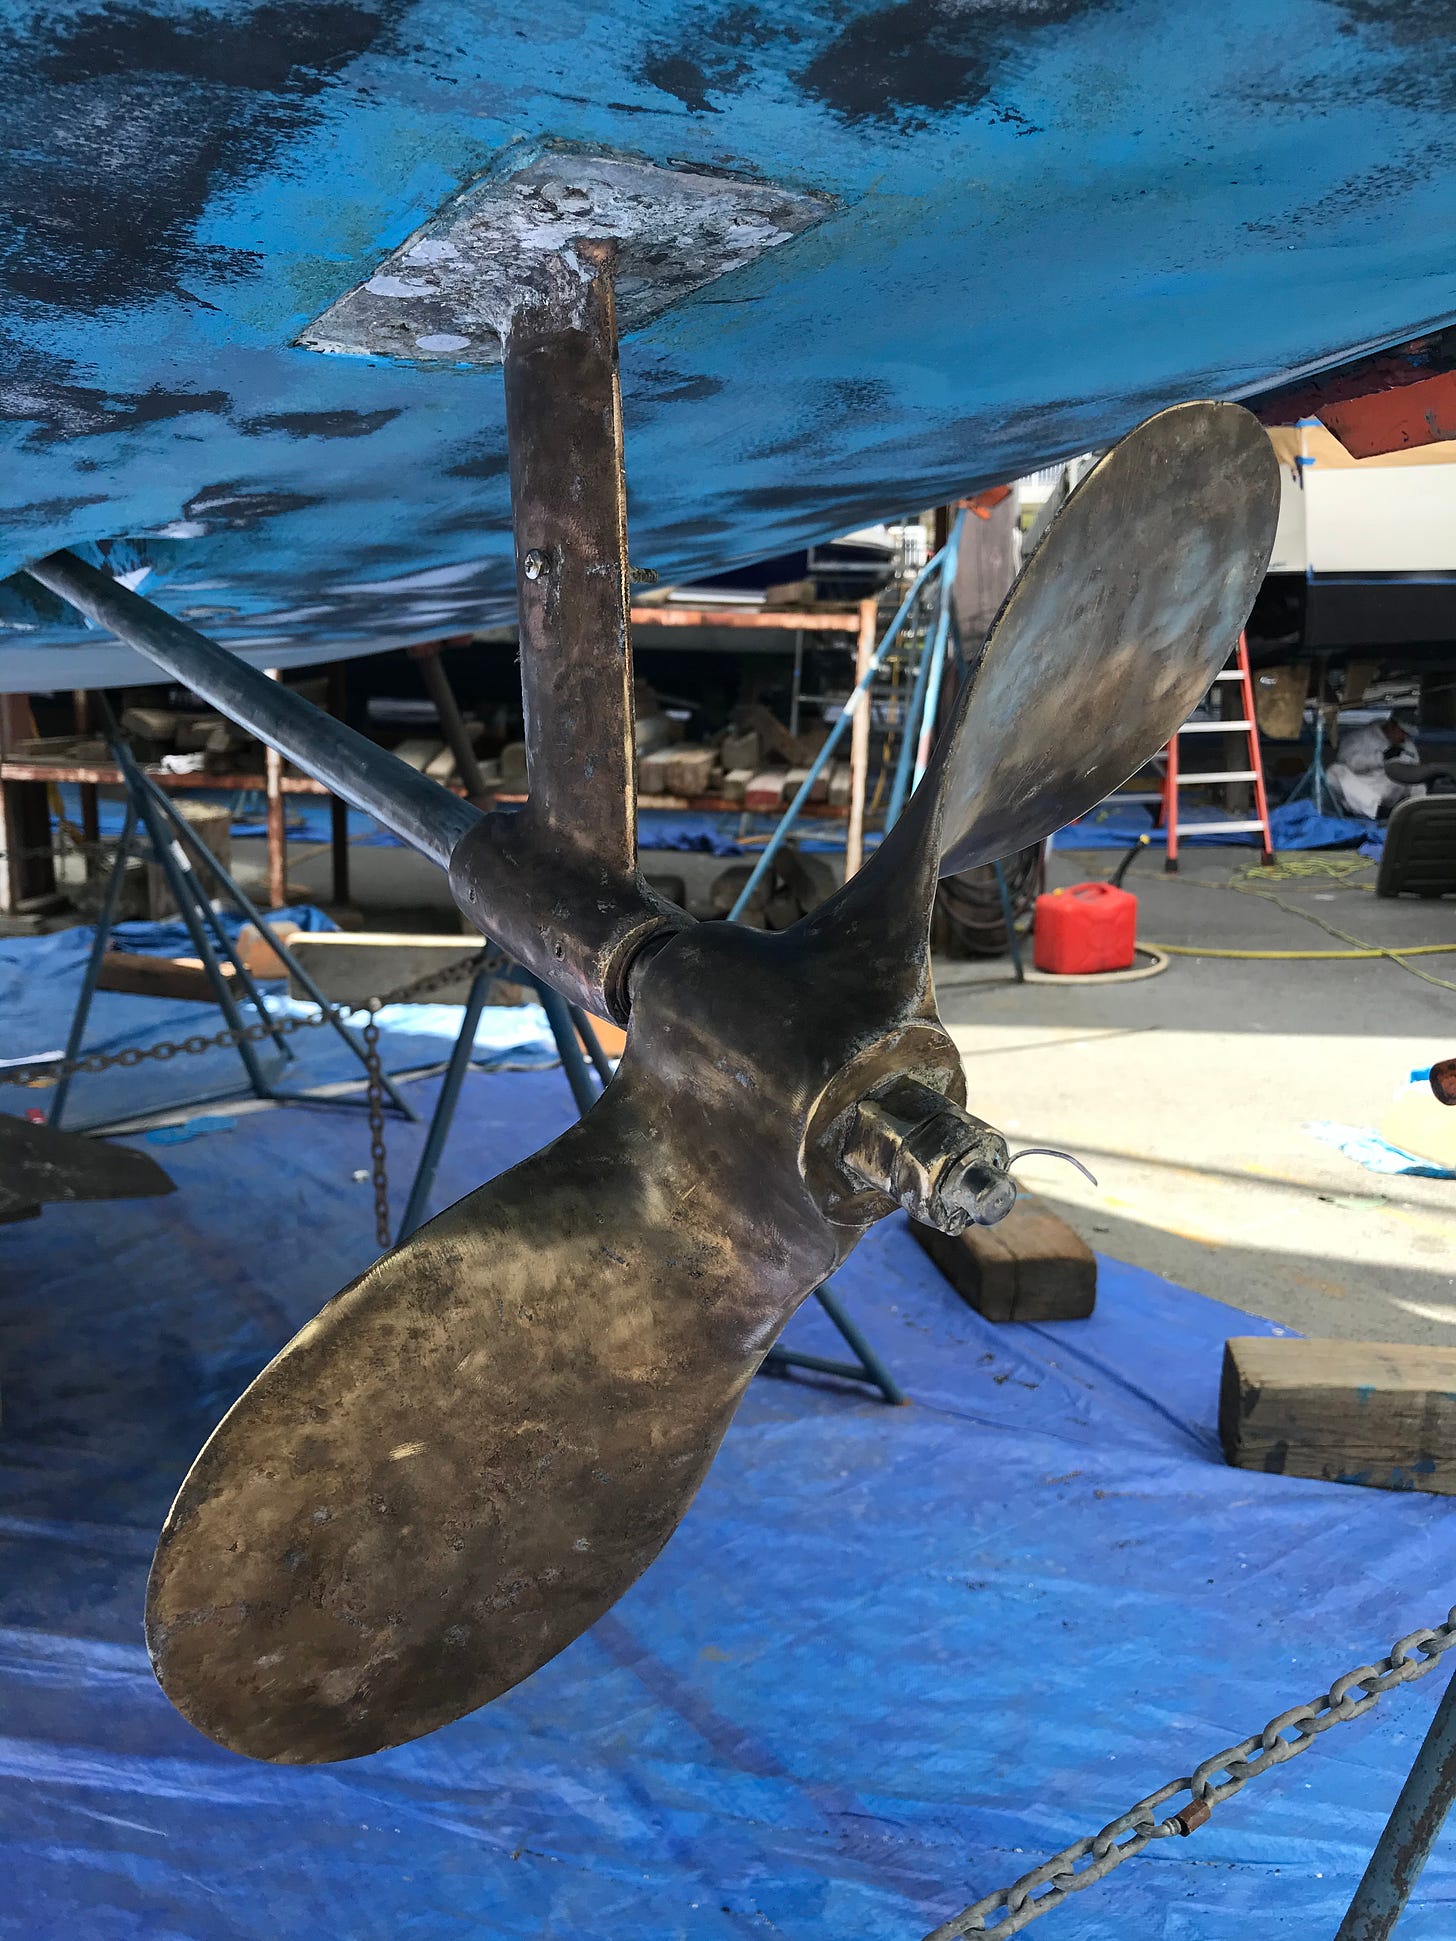
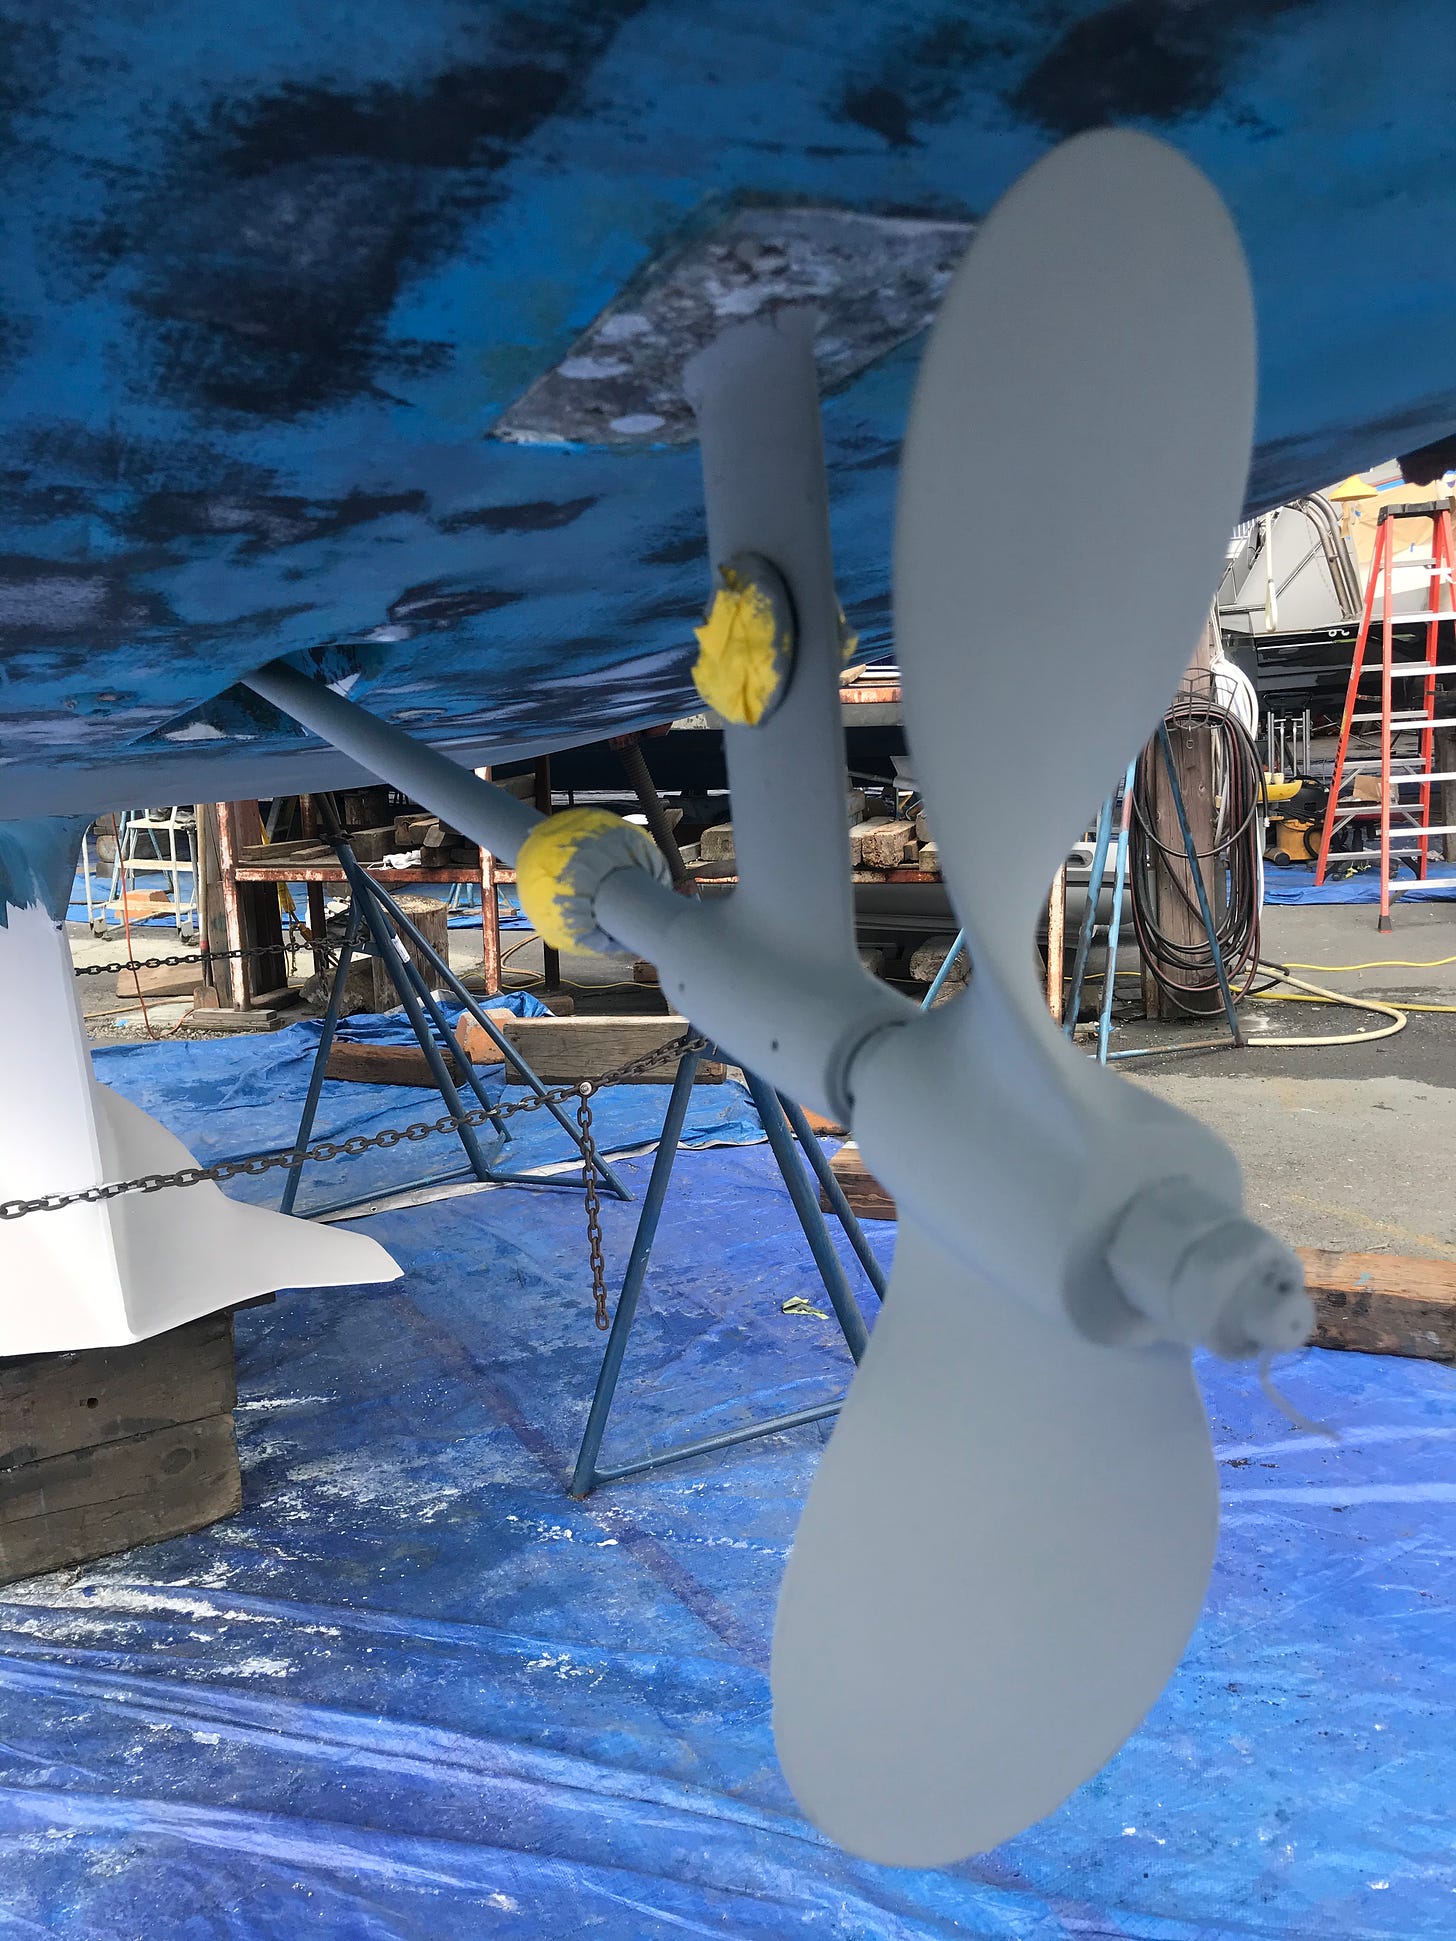
The prop was in good shape, well-aligned, and sized appropriately (there were several doubters including the resident diesel mechanic), but it was in dire need of a barnacle barrier.
The batteries are in the mail but in the meantime, we’re doing everything we can to cut energy use. The cabin lights had to go LED.

Our hull was the focus of the haulout ‘week’ yet they neglected it for the first 2. When they finally did, the results were fun to see.

Mid-wash.

Post pressure wash, pre sanding. Lots of rust bubbles getting through the paint which apparently make us slow in the water and quick to deteriorate.

Post sanding, post epoxy. The keel should be smooth and protected now.

The first layer of iron sealant (I actually don’t know what the grey layer was but it apparently bonds with the iron keel best).

The first primer layer.

The second primer layer.

One coat of paint…finally.

Fin (keel).
Thanks for coming along for the slideshow of the last 3 weeks. I’m sick of this type of boat project and eager to get to the next round of wiring electrical systems, autopilot, fishing gear, sailing drills, and visitors.
